Swift Installation Guide

SwiftCG, SwiftCG+,
SwiftPreview
Installation Guide
| DATE | 25/02/2023 |
| PRINCIPAL AUTHOR | S.Hart |
| SECONDARY AUTHORS | |
| VERSION | v2.0 |
| UPDATE |
Overview
This manual details the installation procedures for SwiftCG, SwiftCG+(Edit3D) and SwiftPreview (TogRender) . Note that there are differences between the requirements for these two products.
Reference will be given to other documents for Licensing and Video installations
General Guidelines
Please observe these guidelines. Observation of these simple guidelines will avoid many typical installation problems.
- The user account name MUST have Admin rights
- The user account name MUST NOT contain spaces or any non-English characters
- The software is installed for a SINGLE user (the installer)
- User directory parameters are set at the time of installation
- The software can only be used on the PC on which it is installed (no network access), unless a network license has been installed.
- The screen resolution MUST be 1920 x 1080 (or 1920 x 1200)
Prerequisites
Supported Platforms
Please consult RTSW website for suitable hardware configurations:
https://rtsw.co.uk/support/recommended-hardware/
Supported Operating Systems
- The installation procedure is common for Window OS variations, At this time the following OS’s are supported
- Windows 10 x64
- Windows 11 x64
- Windows Server 2016 R2 x64
- Windows Server 2019 x64
nVidia Graphics Card Drivers
A suitable nvidia graphics card should be installed. Only nVidia is supported.
These may be obtained from the Nvidia website – www.nvidia.com
Please check the driver against the card you are using
RT Software Security Key
You will need a license in order to be able to launch the software. These can be obtained from your account manager or by contacting sales@rtsw.co.uk.
License Installation
Once you have your license – please refer to the separate document for installation instructions here:
https://rtsw.co.uk/document/software-licensing/
Obtaining the Installers
The installers for SwiftCg may be obtained from 2 different places – either our website or our FTP. Installers for SwiftCG+ can only be obtained from our ftp.
Website – SwiftCG Only
rtsw.co.uk
Installers are located here:
https://rtsw.co.uk/software-downloads/#tab-3
FTP – SwiftCG/SwiftCG+/SwiftPreview
The installers required for both Swift CG and SwiftCG+ may be obtained from RTSoftware FTP download site. In order to gain access to this you will need to be assigned a login. You can get this by contacting your account manager or emailing sales@rtsw.co.uk.
As well as providing access to the most recent versions of our software, you can also use your account to upload/download material to us for support and customer related issues.
Our FTP login is here:
https://ftp.rtsw.co.uk/WebInterface/login.html
All installers are located in sub-folders. These are labeled as follows:
- Downloads/Releases/<main version>/<sub version>/<operating system>
For example, at the time of writing the latest versions are:
- Downloads/Software Releases/4.6.5/4.6.5_r30938/windows-x86_64
Locate the appropriate release and download the required installers.
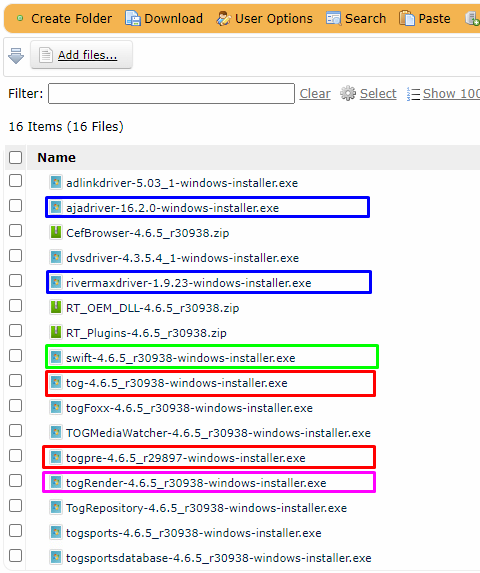
The following lists the installers needed for tOG, tOG Edit and tOG Sports and the order in which you should install them:
If you are installing an AJA video card, download the AJA installer:
- Ajadriver-16.2.0-windows-installer.exe
If you are installing Mellanox DPU for 2110 download
- rivermaxdriver-1.9.23-windows-installer.exe
If you are installing SwiftPreview download
- togRender-4.6.5_r30938-windows-installer.exe
If you are installing SwiftCG download
- Swift-4.6.5_r30938-windows-installer.exe
If you are installing SwiftCG+ download
- togpre-4.6.5_r29897-windows-installer.exe
- tog-4.6.5_r30938-windows-installer.exe
Installation
Once you have downloaded the necessary installers you are ready to proceed.
If you are installing an AJA card for SDI or a Mellanox DPU for 2110 install these first. Refer to the AJA/Mellanox installer instructions on how to do this and in addition, how to set up the cards themselves.
SwiftCG
Double click the installer to launch.
- Swift-4.6.5_r30938-windows-installer.exe
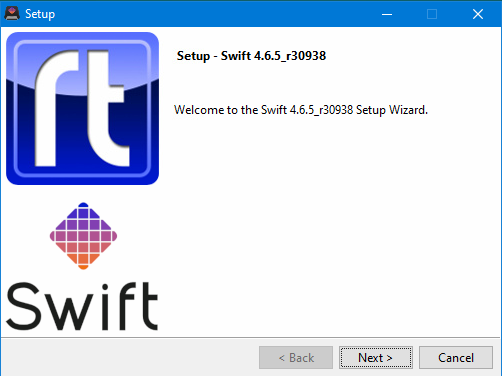
Click Next…
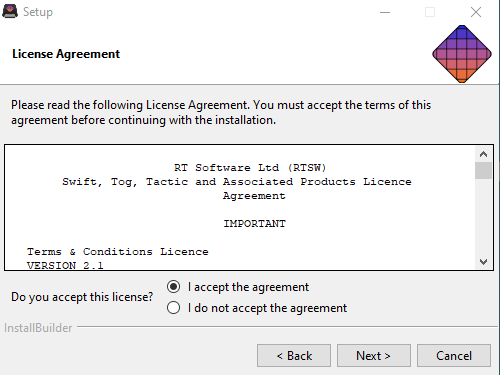
Accept the License agreement and press Next
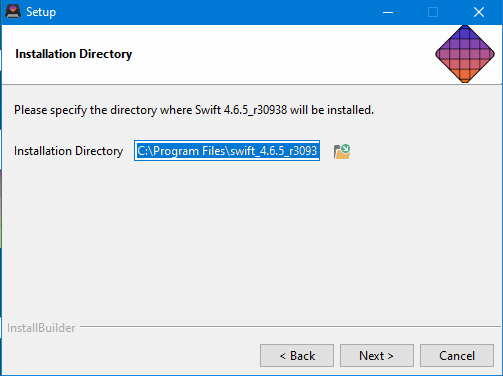
Press Next
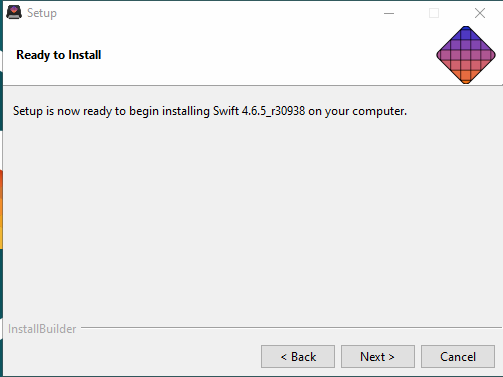
Press Next
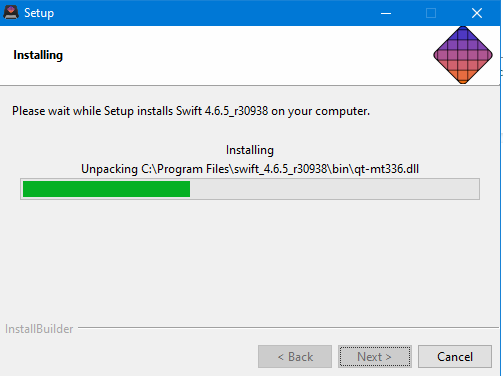
Setup will install the application
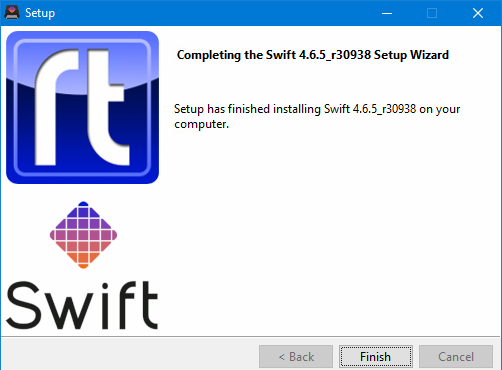
Click Finish
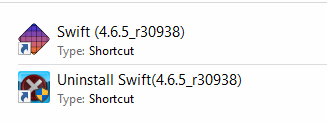
Once the application is complete you will see a folder on the desktop

Open this and launch the application using the shortcut:
SwiftCG+
Installing SwiftCG+ requires 2 installers. The form and sequence is the same for both and is identical to the sequence for SwiftCG.
Install the togpre installer first followed by the main tog installer.
- togpre-4.6.5_r29897-windows-installer.exe
- tog-4.6.5_r30938-windows-installer.exe
Once the application is complete you will see a folder on the desktop
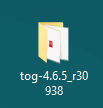
Open this and launch the application using the shortcuts:
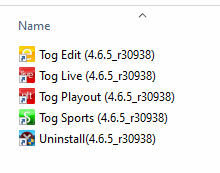
- Tog Edit – this runs SwiftCG+ in edit mode
- Tog Live – this runs SwiftCG+ in live mode
- Tog Playout – this runs SwiftCG+ in playout mode
- Tog Sports – this runs the legacy tOG Sports interface
- Uninstall procedure
SwiftPreview
Installing SwiftPreview is identical to the previous sequences. Run the installer:
- togRender-4.6.5_r30938-windows-installer.exe
Once the application is complete you will see a folder on the desktop
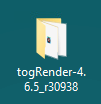
Open this and launch the application using the shortcut:
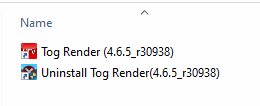
Uninstall
To uninstall any of the applications, run the uninstaller shortcut in the relevant launch folder.

