Dizplai: Adding Destinations DCS

Dizplai: Adding Destinations in the DCS
| About | Description |
| Revision | n/a |
| Date | 2023 |
| Authors | Dizplai |
Overview
The purpose of this document is to outline how to add destinations in the DCS.
How to add new destinations in DCS
1) Type exploreconfig in DCS console window and hit enter
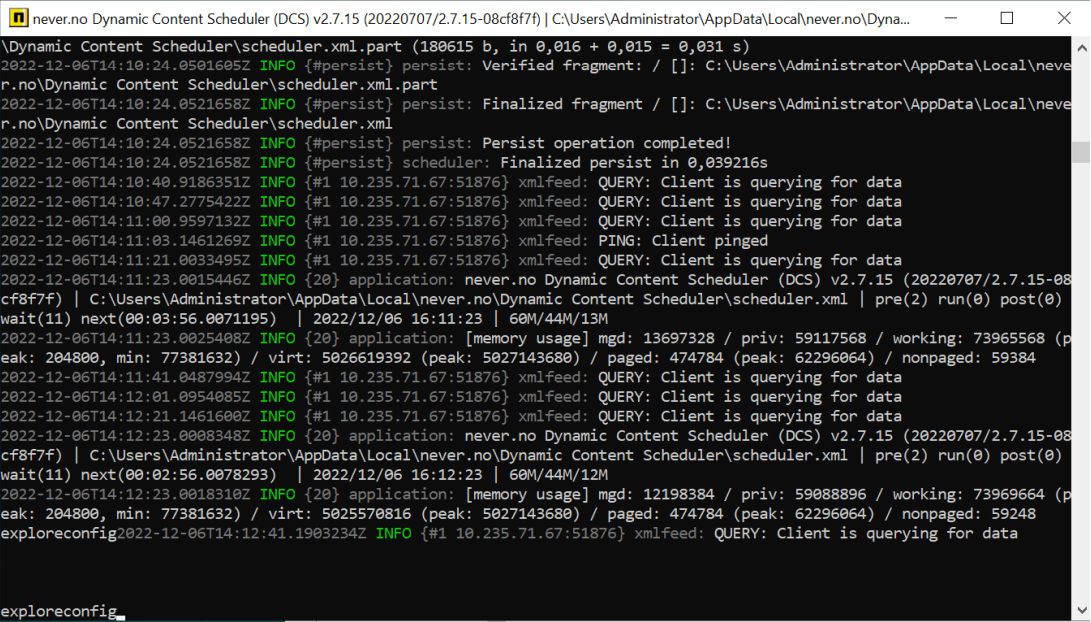
This takes you to the scheduler.xml file
You can also go directly to: C:UsersAdministratorAppDataLocalnever.noDynamic Content Scheduler folder where scheduler.xml is located.
2) Close DCS by typing persist in the DCS console window, and then click the x in upper right corner.
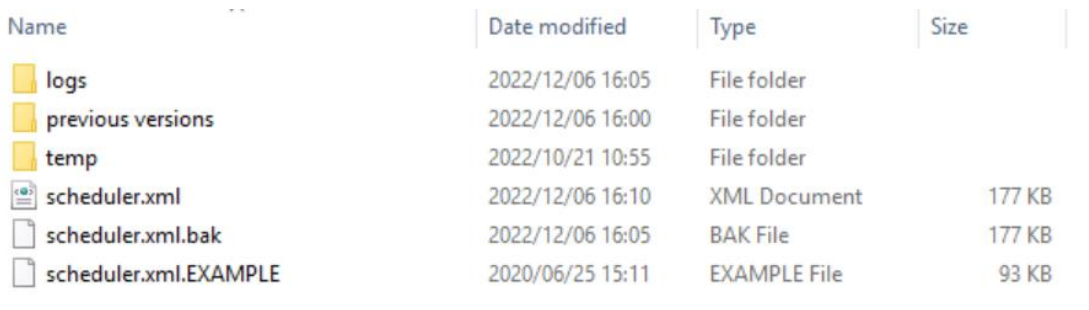
3) Make a copy of scheduler.xml (add current date to name) and put it in the “previous versions” folder.
4) Open scheduler.xml in an editor
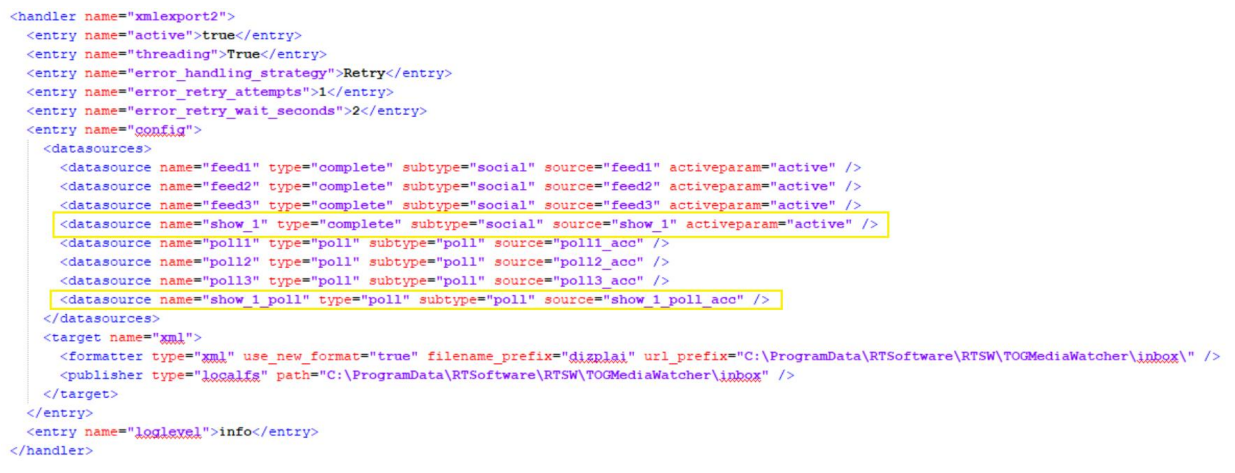
5) Under <handler name=”xmlexport2″> , add the following
a. For carousel:
<datasource name=”show_1″ type=”complete” subtype=”social” source=”show_1″
activeparam=”active” />
Replace “show_1” with show name both under name and source
b. For poll:
<datasource name=”show_1_poll” type=”poll” subtype=”poll”
source=”show_1_poll_acc” />
Replace “show_1” with show name both under name and source (keep the _poll and
_poll_acc)
6) Under
<entry name=”data” description=”All data”>
<entry name=”datasources”>
Add the following:
a. For carousel:
<entry name=”show_1″ data_type=”carousel” />
Replace “show_1” with show name
b. For poll:
<entry name=”show_1_poll” data_type=”poll” auto_acc=”true” />
<entry name=”show_1_poll_acc” data_type=”show_1_poll_acc” />
Replace “show_1” with show name
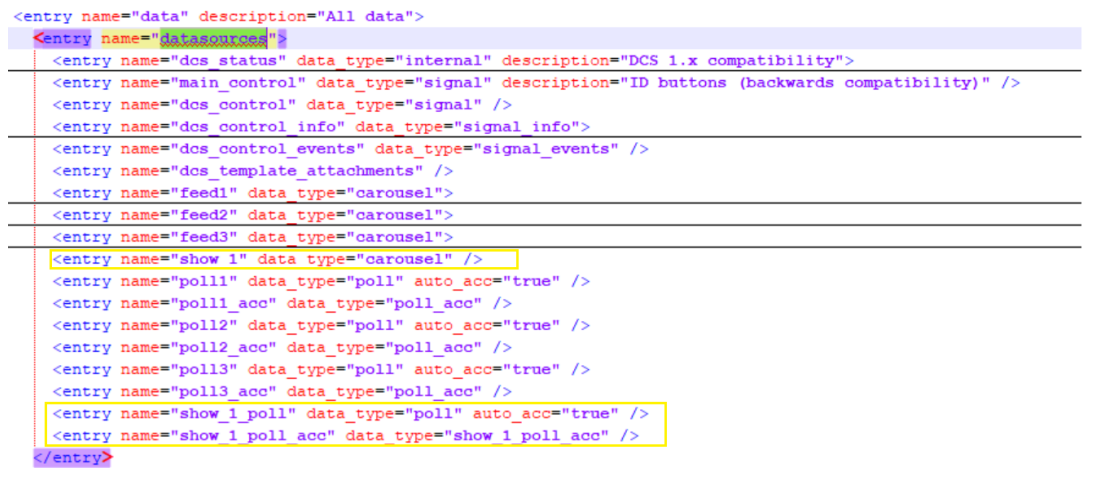
Note: I have minimized some nodes here, so you might see a lot of messages in the datasources if not.
7) Save file and restart DCS
8) Check that XMLs have been published in
C:ProgramDataRTSoftwareRTSWTOGMediaWatcherinbox
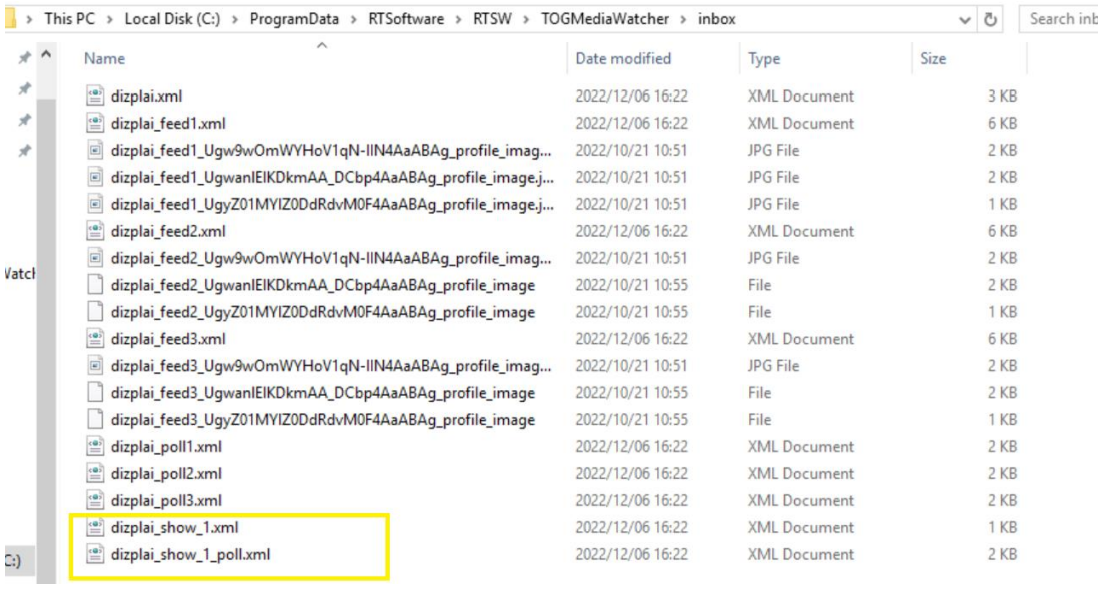
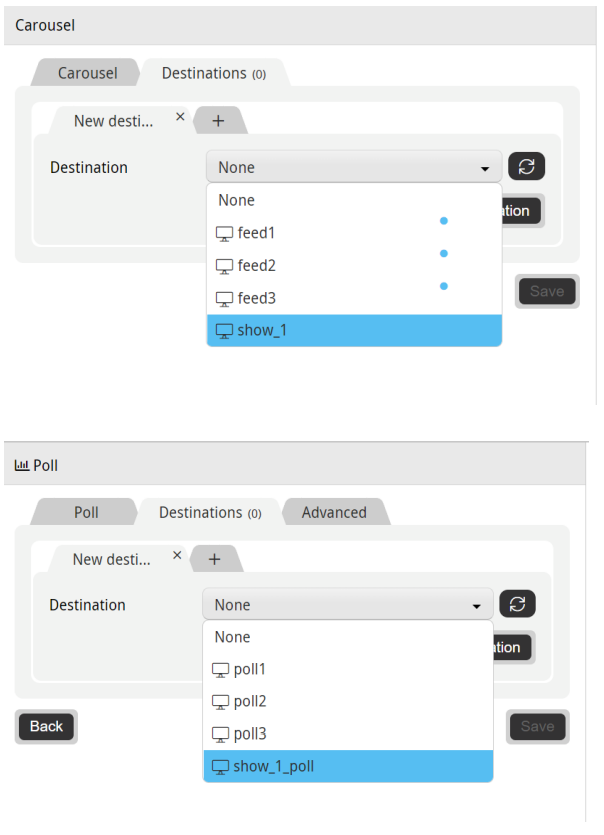
9) Check that the new destinations show in Dizplai:
10) Anything not working, roll back to backup file by replacing it with the scheduler.xml file.

